Bring your Perfex CRM to your fingertips with the Perfex Mobile Companion module! Designed for businesses on the go, this powerful module connects your Perfex CRM to our dedicated mobile app, allowing you to manage your entire CRM from anywhere, anytime.
$499.00 Original price was: $499.00.$199.00Current price is: $199.00.
Bring the power of Perfex CRM to your fingertips with Perfex Mobile Companion! Designed for businesses that need flexibility and efficiency, this powerful module connects your Perfex CRM to a dedicated mobile app, enabling you to manage your CRM from anywhere, at any time.
Whether you’re meeting clients, managing projects remotely, or handling tasks from the road, Perfex Mobile Companion ensures you’re always in sync with your business. Unlock the true potential of your CRM and streamline your operations with this easy-to-use, mobile solution.
If you’re looking for more in-depth information about the Perfex CRM Mobile App and how it seamlessly integrates with the Perfex Mobile Companion, we’ve got you covered! Visit our Perfex CRM Mobile App page for detailed user guides, documentation, and helpful tips on maximizing your mobile CRM experience.
There, you’ll find step-by-step instructions on how to set up and use the mobile app, along with advanced features to enhance your business operations. If you have any questions or need further assistance, don’t hesitate to contact us—we’re always here to help!
Got questions? Our FAQ section answers common inquiries about the Perfex Mobile Companion for Perfex CRM. Find out more about installation, features, customization, and support to get started effortlessly.quick guide on how our mobile app works.
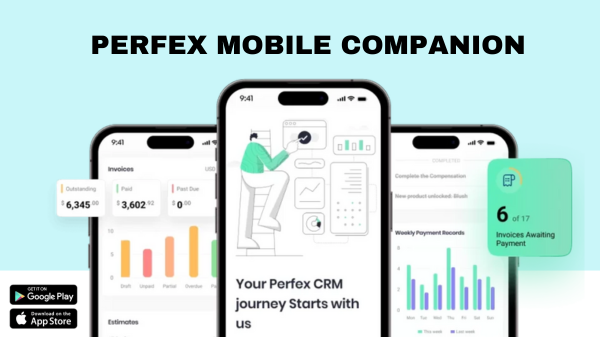
Perfex Mobile Companion is a module that connects your Perfex CRM to a mobile app, allowing you to manage your business data from anywhere, anytime, using your mobile device.
Perfex Mobile Companion is compatible with both Android and iOS devices. Download the app from Google Play or the Apple App Store.
Yes, you can access customer data, invoices, tasks, projects, and more through the mobile app, ensuring you have all the information you need on the go.
Your data is fully protected with robust security measures. Only authorized users can access your CRM data, ensuring your business information is secure.Learn more about Perfex CRM.